Embed Size (px)
Citation preview
TP PROGRAMMATION PCDUINO EN C 01
Objectifs : Etre capable de programmer en C un PCDUINO
1. MATÉRIEL : PCDUINO en mode ssh en wifi par vnc ou en direct avec unécran/clavier/souris. (voir Démarrage rapide d'un pcduino)
Geany installé sur le pcduino. (Pour l'installation des paquets geany voirinternet)
2. INTRODUCTIONGeany est un IDE léger qui permet de développer avec différents langages : C,python, perl...Geany se configure en fonction du type de fichier chargé.
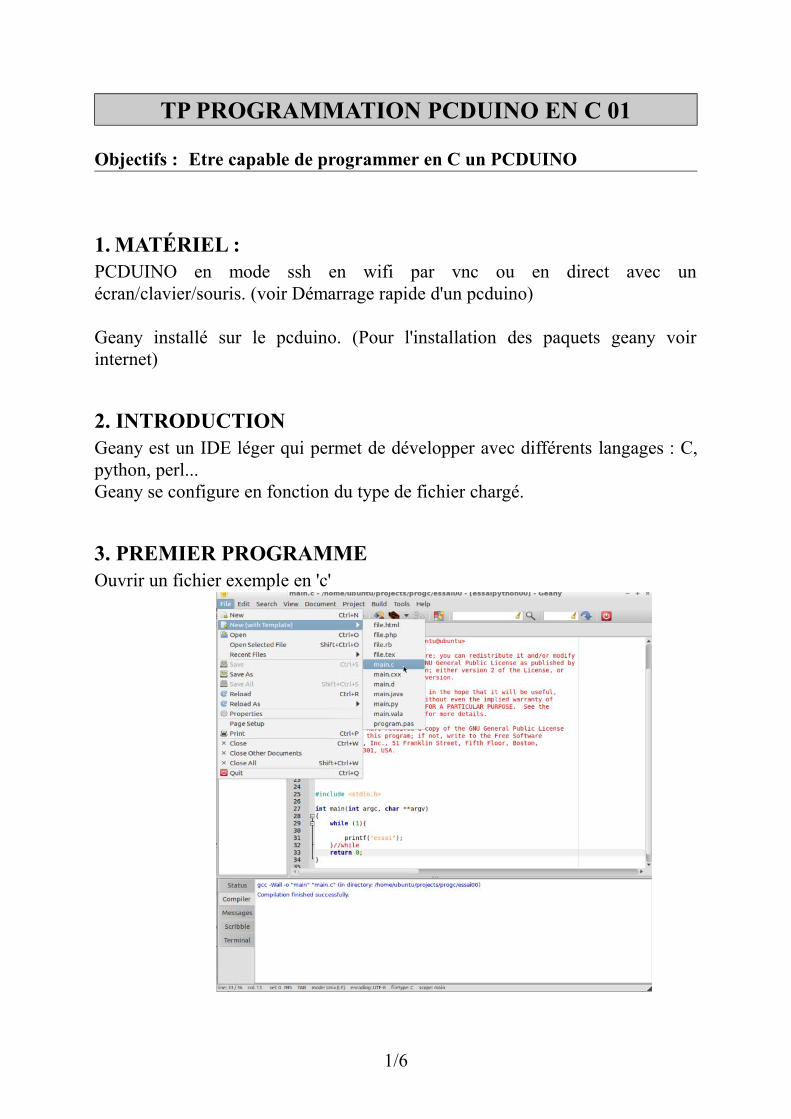
3. PREMIER PROGRAMMEOuvrir un fichier exemple en 'c'
1/6
TP programmation PCDUINO en C 01
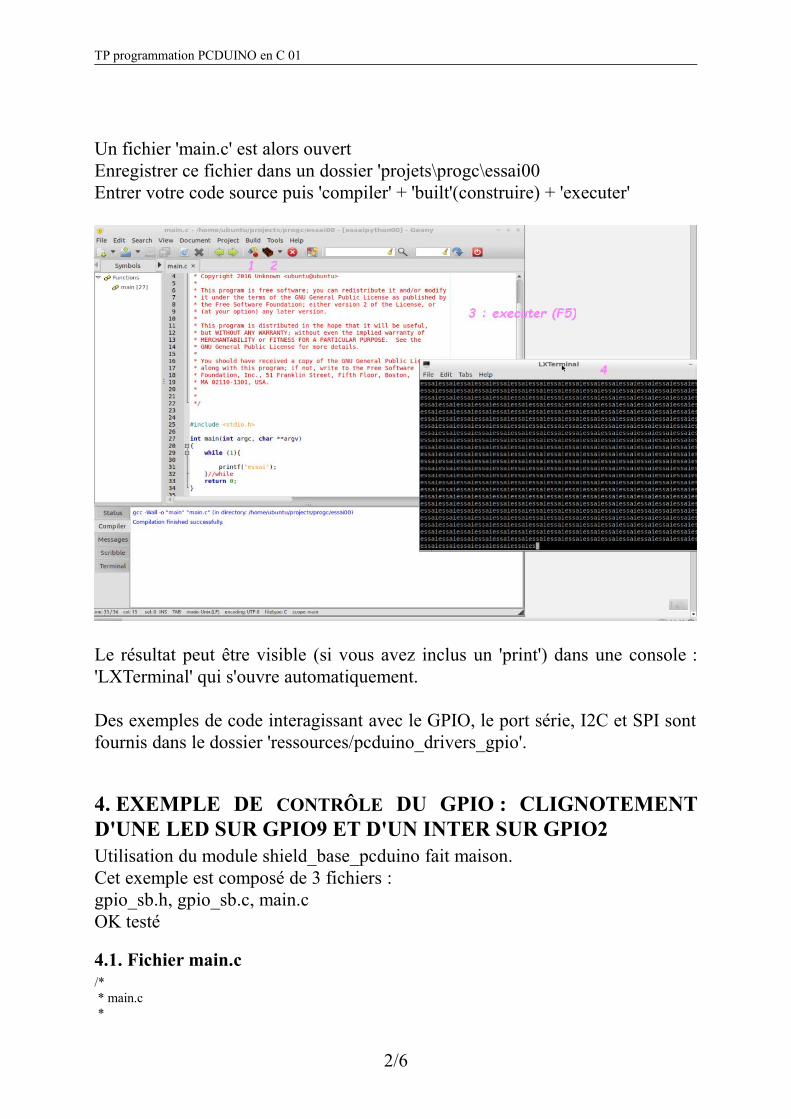
Un fichier 'main.c' est alors ouvertEnregistrer ce fichier dans un dossier 'projets\progc\essai00Entrer votre code source puis 'compiler' + 'built'(construire) + 'executer'
Le résultat peut être visible (si vous avez inclus un 'print') dans une console :'LXTerminal' qui s'ouvre automatiquement.
Des exemples de code interagissant avec le GPIO, le port série, I2C et SPI sontfournis dans le dossier 'ressources/pcduino_drivers_gpio'.
4. EXEMPLE DE CONTRÔLE DU GPIO : CLIGNOTEMENTD'UNE LED SUR GPIO9 ET D'UN INTER SUR GPIO2Utilisation du module shield_base_pcduino fait maison.Cet exemple est composé de 3 fichiers : gpio_sb.h, gpio_sb.c, main.cOK testé
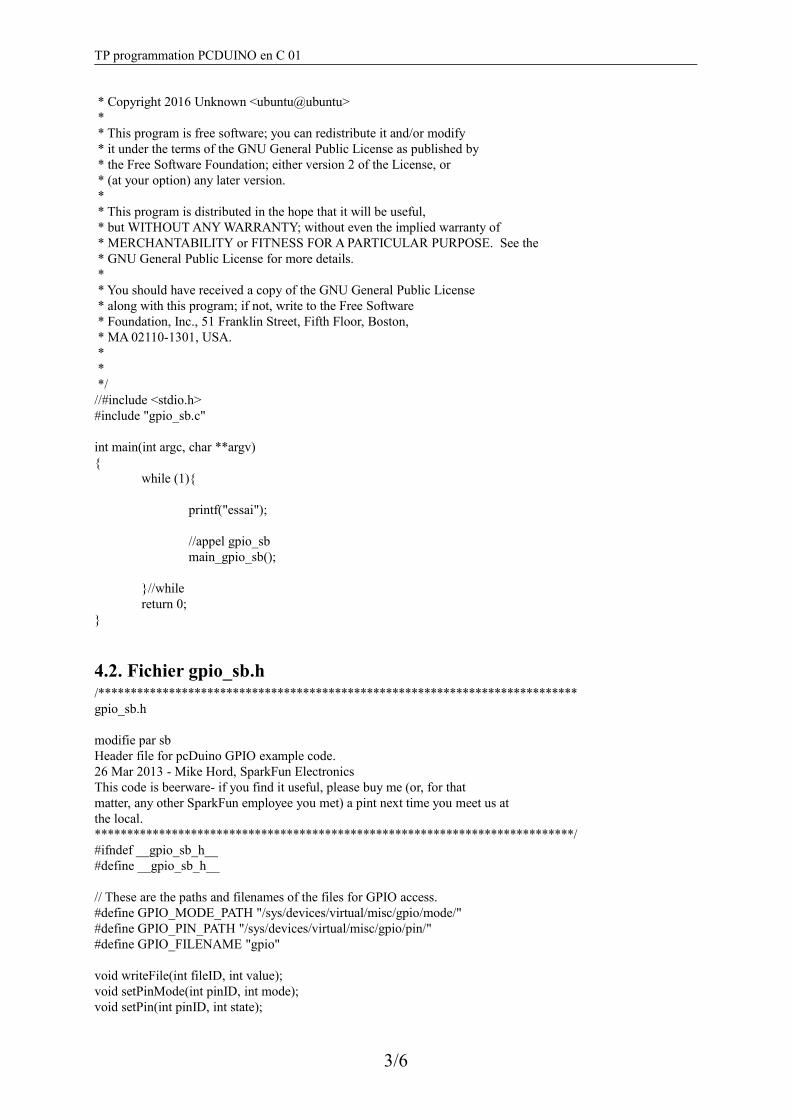
4.1. Fichier main.c/* * main.c *
2/6
TP programmation PCDUINO en C 01
* Copyright 2016 Unknown <ubuntu@ubuntu> * * This program is free software; you can redistribute it and/or modify * it under the terms of the GNU General Public License as published by * the Free Software Foundation; either version 2 of the License, or * (at your option) any later version. * * This program is distributed in the hope that it will be useful, * but WITHOUT ANY WARRANTY; without even the implied warranty of * MERCHANTABILITY or FITNESS FOR A PARTICULAR PURPOSE. See the * GNU General Public License for more details. * * You should have received a copy of the GNU General Public License * along with this program; if not, write to the Free Software * Foundation, Inc., 51 Franklin Street, Fifth Floor, Boston, * MA 02110-1301, USA. * * *///#include <stdio.h>#include "gpio_sb.c"
int main(int argc, char **argv){
while (1){
printf("essai");
//appel gpio_sbmain_gpio_sb();
}//whilereturn 0;
}
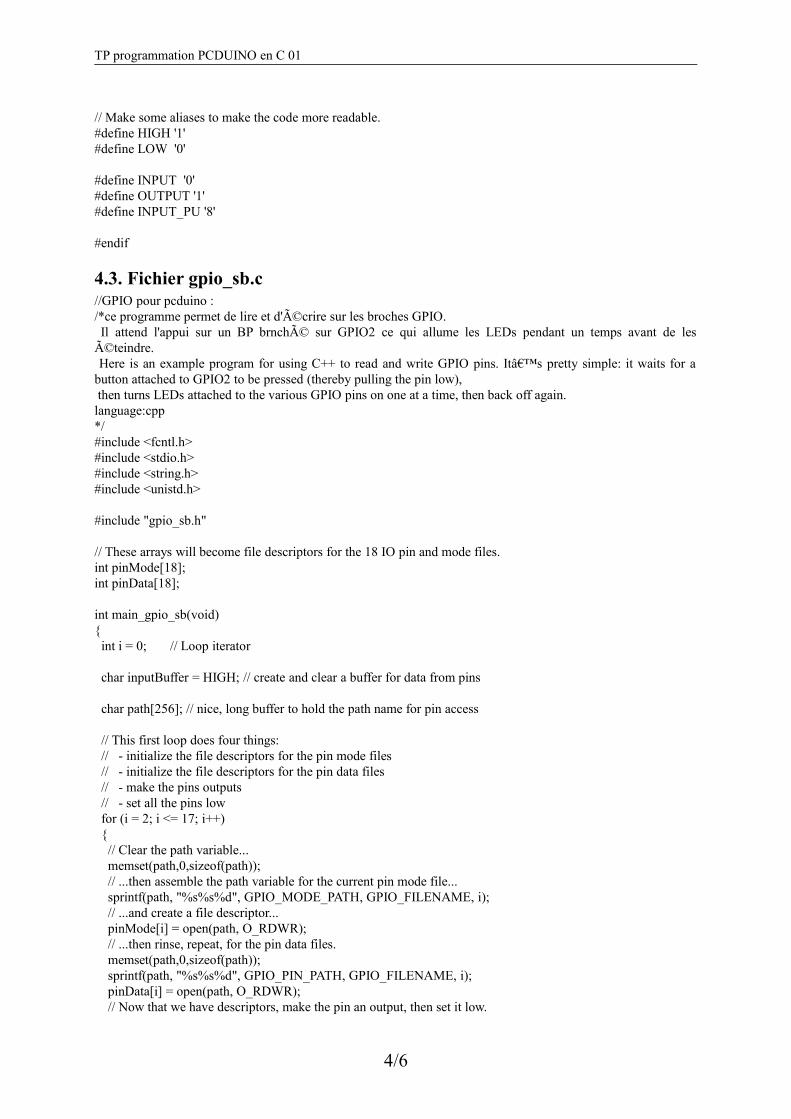
4.2. Fichier gpio_sb.h/***************************************************************************gpio_sb.h
modifie par sbHeader file for pcDuino GPIO example code.26 Mar 2013 - Mike Hord, SparkFun ElectronicsThis code is beerware- if you find it useful, please buy me (or, for thatmatter, any other SparkFun employee you met) a pint next time you meet us atthe local.***************************************************************************/#ifndef __gpio_sb_h__#define __gpio_sb_h__
// These are the paths and filenames of the files for GPIO access.#define GPIO_MODE_PATH "/sys/devices/virtual/misc/gpio/mode/"#define GPIO_PIN_PATH "/sys/devices/virtual/misc/gpio/pin/"#define GPIO_FILENAME "gpio"
void writeFile(int fileID, int value);void setPinMode(int pinID, int mode);void setPin(int pinID, int state);
3/6
TP programmation PCDUINO en C 01
// Make some aliases to make the code more readable.#define HIGH '1'#define LOW '0'
#define INPUT '0'#define OUTPUT '1'#define INPUT_PU '8'
#endif
4.3. Fichier gpio_sb.c//GPIO pour pcduino : /*ce programme permet de lire et d'écrire sur les broches GPIO. Il attend l'appui sur un BP brnché sur GPIO2 ce qui allume les LEDs pendant un temps avant de leséteindre. Here is an example program for using C++ to read and write GPIO pins. It’s pretty simple: it waits for abutton attached to GPIO2 to be pressed (thereby pulling the pin low), then turns LEDs attached to the various GPIO pins on one at a time, then back off again.language:cpp*/#include <fcntl.h>#include <stdio.h>#include <string.h>#include <unistd.h>
#include "gpio_sb.h"
// These arrays will become file descriptors for the 18 IO pin and mode files.int pinMode[18];int pinData[18];
int main_gpio_sb(void){ int i = 0; // Loop iterator
char inputBuffer = HIGH; // create and clear a buffer for data from pins
char path[256]; // nice, long buffer to hold the path name for pin access
// This first loop does four things: // - initialize the file descriptors for the pin mode files // - initialize the file descriptors for the pin data files // - make the pins outputs // - set all the pins low for (i = 2; i <= 17; i++) { // Clear the path variable... memset(path,0,sizeof(path)); // ...then assemble the path variable for the current pin mode file... sprintf(path, "%s%s%d", GPIO_MODE_PATH, GPIO_FILENAME, i); // ...and create a file descriptor... pinMode[i] = open(path, O_RDWR); // ...then rinse, repeat, for the pin data files. memset(path,0,sizeof(path)); sprintf(path, "%s%s%d", GPIO_PIN_PATH, GPIO_FILENAME, i); pinData[i] = open(path, O_RDWR); // Now that we have descriptors, make the pin an output, then set it low.
4/6
TP programmation PCDUINO en C 01
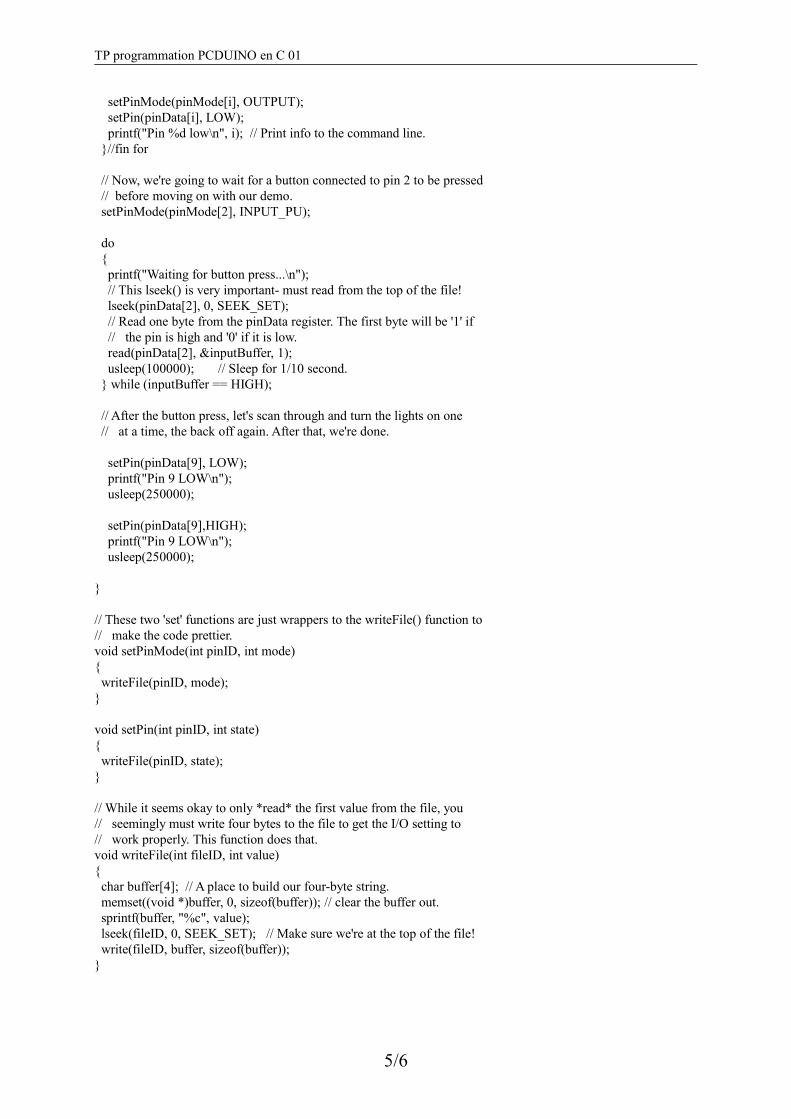
setPinMode(pinMode[i], OUTPUT); setPin(pinData[i], LOW); printf("Pin %d low\n", i); // Print info to the command line. }//fin for
// Now, we're going to wait for a button connected to pin 2 to be pressed // before moving on with our demo. setPinMode(pinMode[2], INPUT_PU);
do { printf("Waiting for button press...\n"); // This lseek() is very important- must read from the top of the file! lseek(pinData[2], 0, SEEK_SET); // Read one byte from the pinData register. The first byte will be '1' if // the pin is high and '0' if it is low. read(pinData[2], &inputBuffer, 1); usleep(100000); // Sleep for 1/10 second. } while (inputBuffer == HIGH);
// After the button press, let's scan through and turn the lights on one // at a time, the back off again. After that, we're done.
setPin(pinData[9], LOW); printf("Pin 9 LOW\n"); usleep(250000); setPin(pinData[9],HIGH); printf("Pin 9 LOW\n"); usleep(250000); }
// These two 'set' functions are just wrappers to the writeFile() function to// make the code prettier.void setPinMode(int pinID, int mode){ writeFile(pinID, mode);}
void setPin(int pinID, int state){ writeFile(pinID, state);}
// While it seems okay to only *read* the first value from the file, you// seemingly must write four bytes to the file to get the I/O setting to// work properly. This function does that.void writeFile(int fileID, int value){ char buffer[4]; // A place to build our four-byte string. memset((void *)buffer, 0, sizeof(buffer)); // clear the buffer out. sprintf(buffer, "%c", value); lseek(fileID, 0, SEEK_SET); // Make sure we're at the top of the file! write(fileID, buffer, sizeof(buffer));}
5/6

TP programmation PCDUINO en C 01
5. EXEMPLE UTILISATION DU PORT ANALOGIQUE ENENTRÉE SUR A0.
6/6